Installing Outdoor Lighting to Enhance Your Property
Illuminate your outdoor space with this comprehensive guide to landscape lighting types, the benefits of low-voltage systems and more.
Outdoor lighting can transform your property by creating a welcoming atmosphere, highlighting architectural and landscape features, and providing essential safety and security. Whether you’re a homeowner looking to enhance your landscape or a professional landscaper seeking guidance on best practices for installing lighting, this comprehensive guide will be a valuable resource. We’ll cover everything from planning and budgeting to installation techniques and maintenance, ensuring you have all the knowledge you need to complete your lighting project successfully.
As the popularity of outdoor living spaces continues to grow, so does the demand for well-designed and properly installed landscape lighting. You can ensure that your lighting project is aesthetically pleasing and functional by understanding the various types of lighting systems, the benefits of low-voltage landscape lighting, and the importance of proper installation. With a bit of planning and attention to detail when installing landscape lighting, you can create a stunning outdoor environment perfect for relaxation, entertainment, and enjoyment.
Hemlock Landscapes has been a trusted provider of landscape design and installation services for many years, and our team of professionals is committed to helping you achieve the lighting project of your dreams. In this guide, we’ll share our expertise on the subject, offering insights and tips that will help you navigate the sometimes complex world of lighting. So, let’s dive in and explore the various aspects of installing lighting outdoors.
Start Your Outdoor Lighting Project
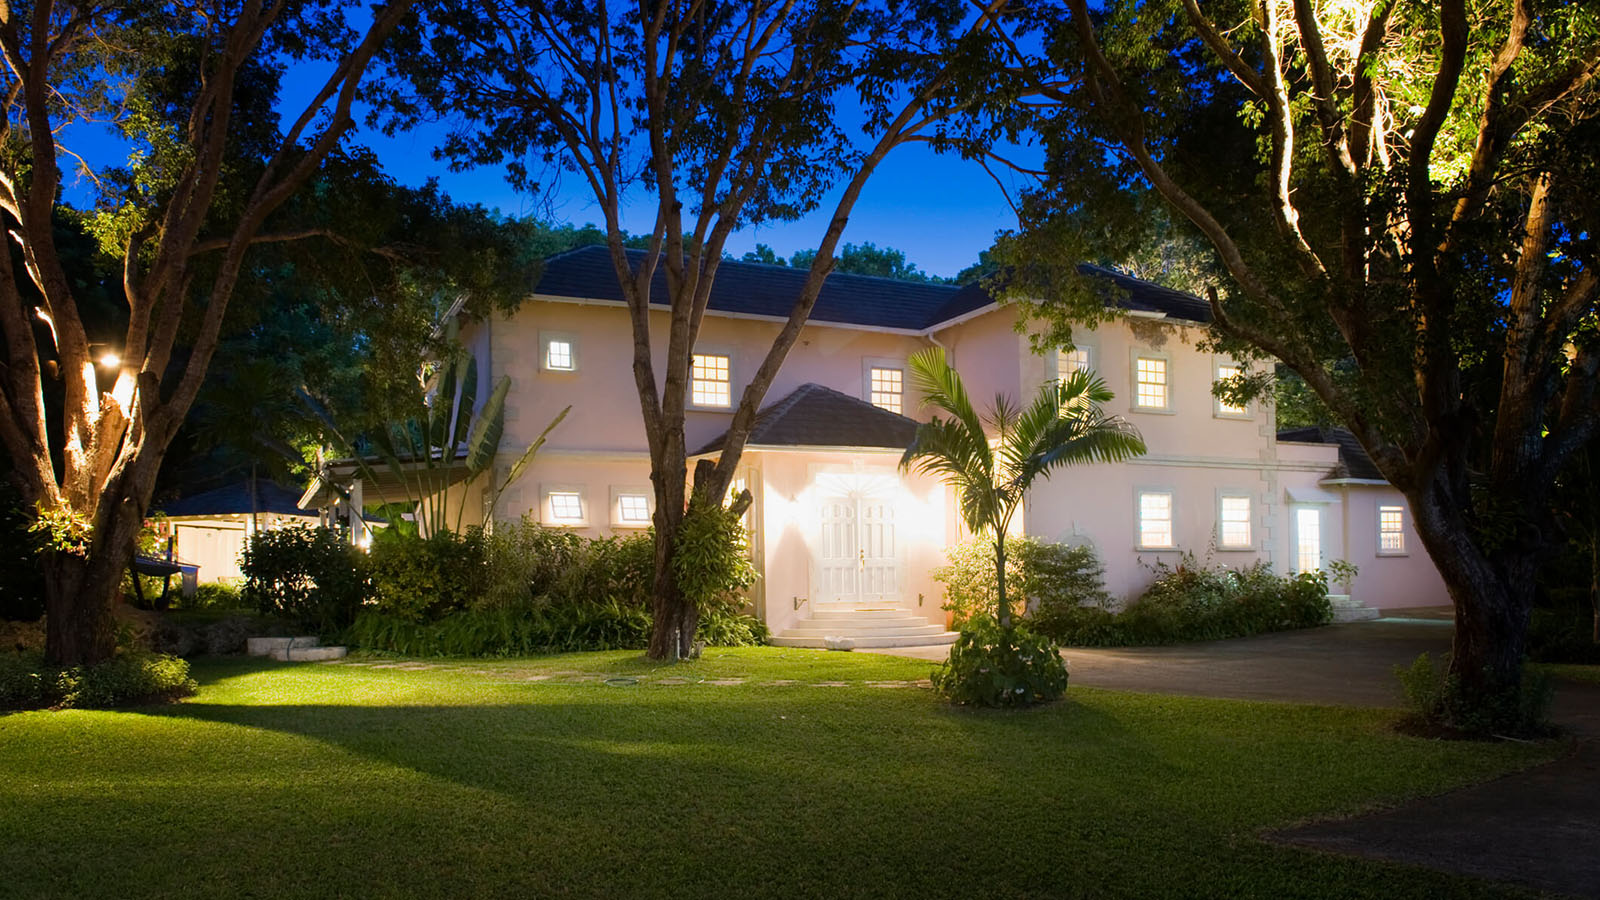
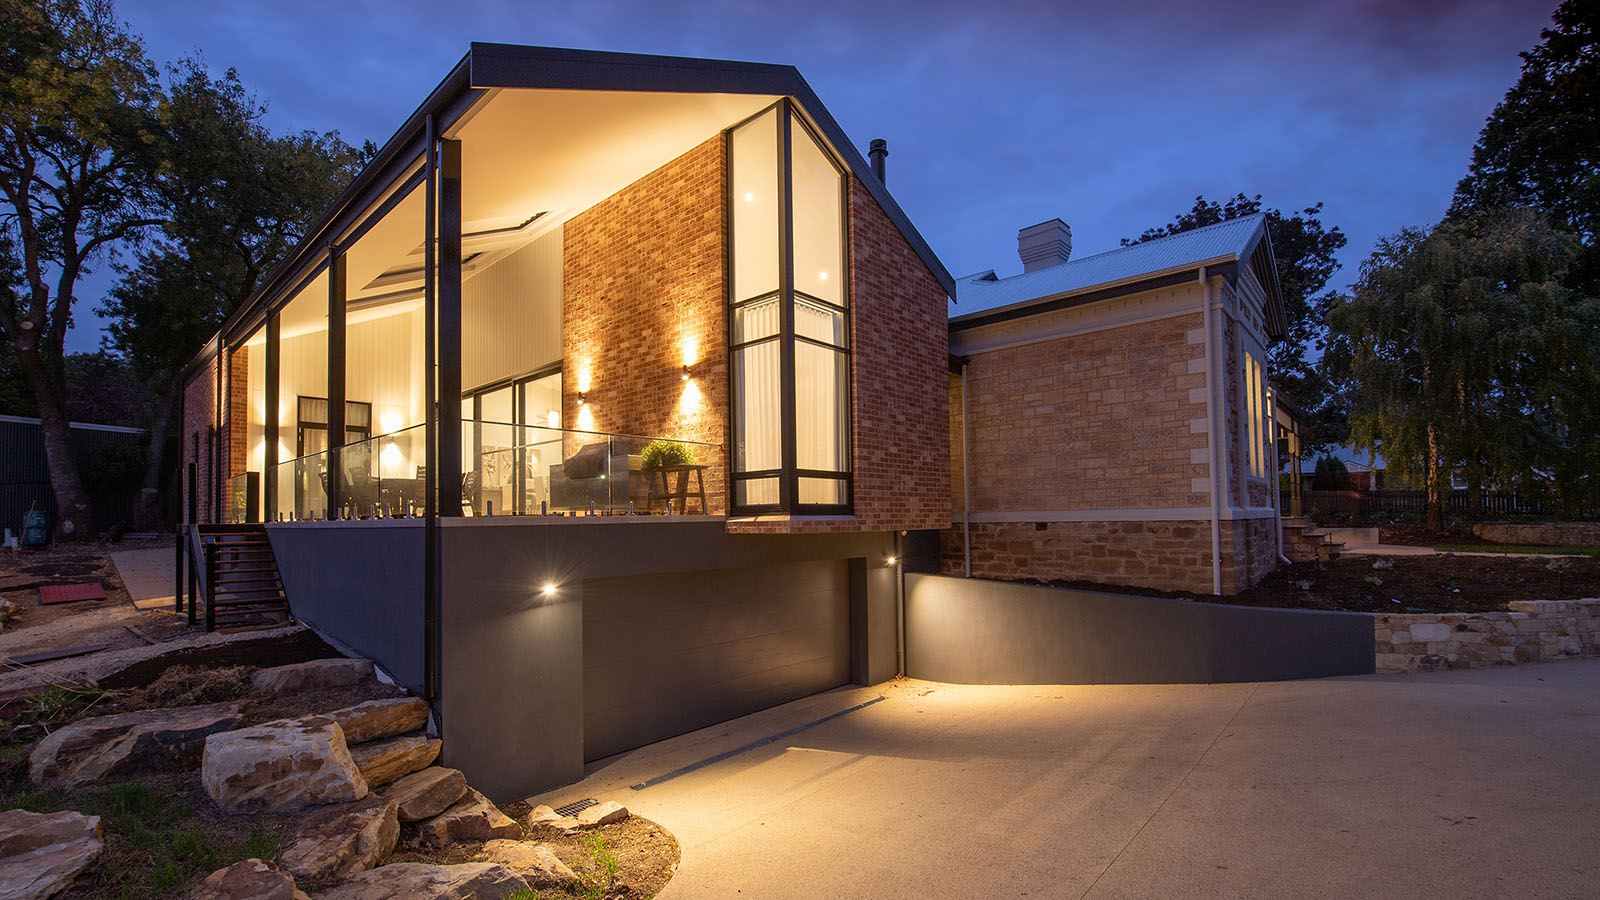
Outdoor lighting is an essential aspect of any landscape, enhancing the beauty of your property while increasing safety and visibility. Installing lighting can greatly impact your landscape’s appearance, providing a warm and inviting atmosphere. In this article, we’ll explore the different types of landscape and low-voltage lighting systems and guide you through the installation process of lighting.
Discover the many benefits of lighting, including improved curb appeal, increased home value, and enhanced security. By following our expert advice and tips, you’ll be well-equipped to confidently tackle your lighting project, whether you choose to do it yourself or hire a professional. Let’s begin by discussing the important factors to consider when planning your lighting project.
Planning Your Outdoor Lighting Project
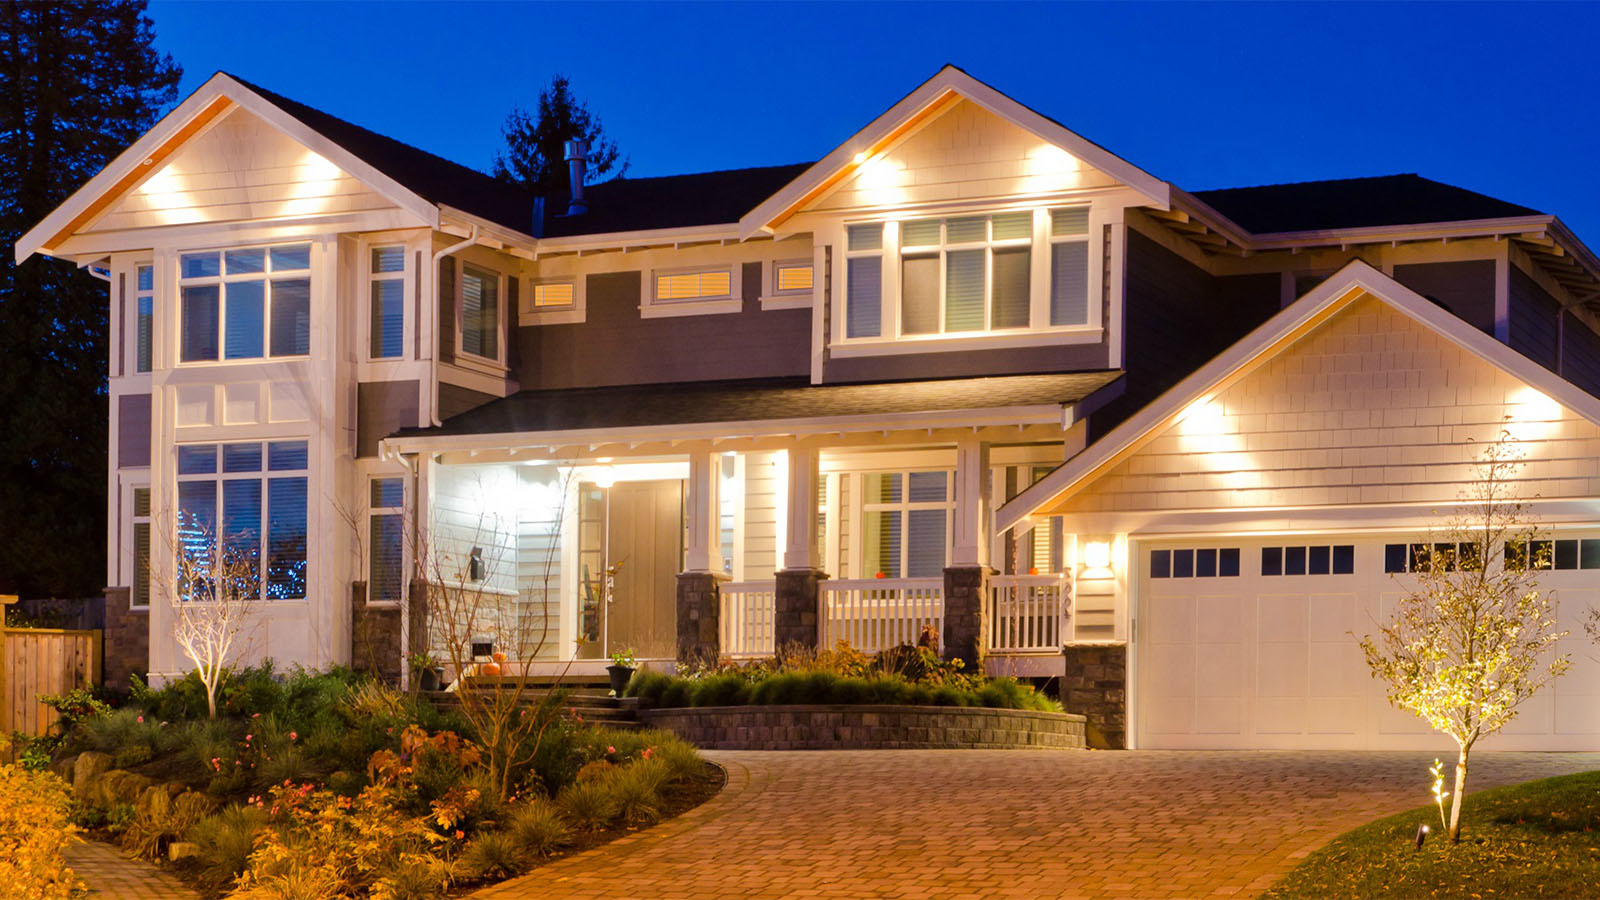
As you embark on your outdoor lighting project, two essential factors to consider are your budget and the primary purpose of your lighting system. A well-planned budget will account for various expenses, such as light fixtures, wiring, and other materials while factoring in potential professional installation fees or DIY tools. Remember to include long-term energy costs when choosing between LED lights and traditional bulbs.
Having a clear objective for your lighting project is equally important. By determining the primary purpose – highlighting landscape features, illuminating walkways or enhancing safety and security – you can make informed decisions regarding fixture selection and layout planning. With these foundational elements, you’ll be better equipped to create a cost-effective, visually appealing lighting installation that meets your goals.
Establishing a Budget
When planning your lighting project, it’s crucial to consider the various costs associated with light fixtures, wiring and other essential materials. The prices of these components can vary significantly depending on factors such as the type, quality and style of the light fixtures and the length and gauge of the wiring required.
- Consider the costs of light fixtures, wiring, and other materials
- Factor in potential professional installation fees or DIY landscape lighting tools
- Don’t forget to account for long-term energy costs, especially when choosing between LED lights and traditional bulbs
To get an accurate estimate of your outdoor electrical project’s cost, it’s a good idea to research and compare prices for different fixtures, wiring and materials that suit your specific needs and preferences. By carefully considering these factors, you can make informed decisions that lead to a cost-effective and visually appealing lighting installation.
Determining the Purpose of Your Lighting
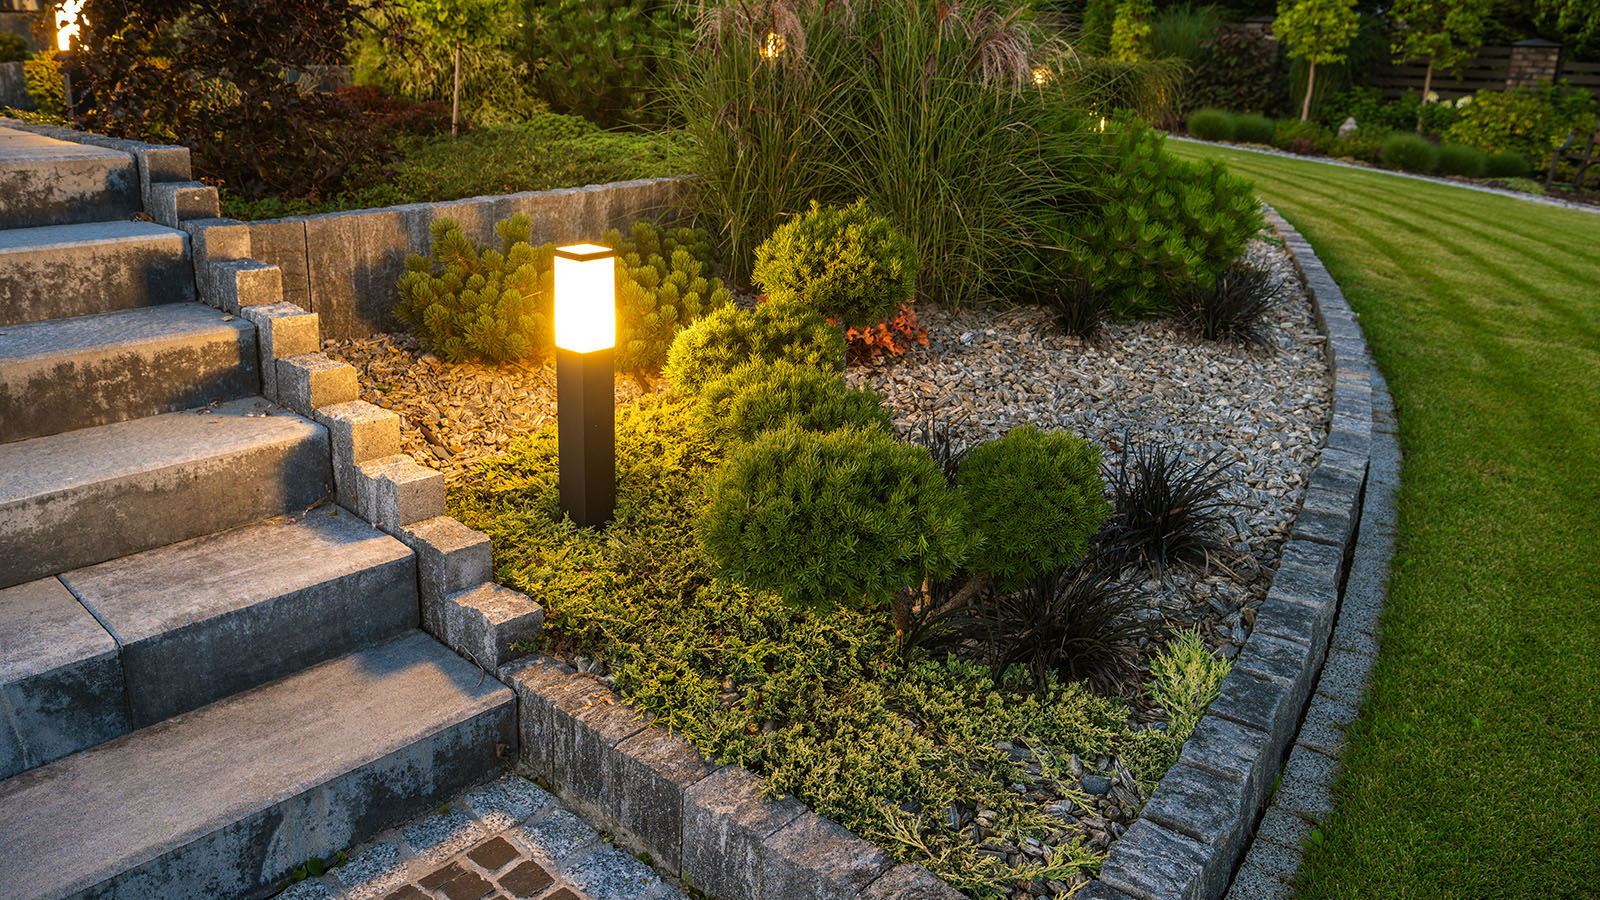
Before you begin installing lighting outdoors, it’s essential to determine the primary purpose of your lighting system. This will help guide your decisions on the type and placement of lights, ensuring your project achieves the desired effect. Some common purposes for lighting include highlighting landscape features such as trees, water features, or statues with low voltage spotlights, illuminating walkways and pathways using path lights, and enhancing safety and security with flood lights.
Having a clear understanding of the purpose of your lighting will help you make more informed decisions when selecting fixtures and planning the layout of your lighting system. By keeping your specific goals in mind, you can create a cohesive and functional lighting design that enhances the beauty and usability of your outdoor space.
DIY vs. Professional Installation
Considering installing landscape lighting on your own? DIY projects can be cost-effective but also demand time, effort and technical know-how. As a homeowner, evaluating your skill set and experience is important before deciding to embark on this journey. Keep reading as we discuss the factors to consider when deciding between a DIY approach or hiring a professional, as well as what to expect in terms of installation difficulty and safety.
Can you install landscape lighting yourself?
DIY landscape lighting can save money but requires time, effort, and some electrical knowledge. Simple low-voltage landscape lights can be installed by most homeowners, while more complex systems or line voltage installations may require a licensed electrician. Consider your skills and experience when deciding whether to tackle your lighting project or hire a professional. It’s important to balance the potential cost savings of a DIY project with the time and effort required, as well as the potential for mistakes that could result in additional expenses or safety concerns.
Assessing the Difficulty of Installation
Low-voltage lighting systems are generally easier to install, with fewer safety risks and no need for an electrical permit. Landscape lights that stake into the ground or mount directly to surfaces like vinyl siding can be simpler to install, while buried wire installations and electrical connections may be more challenging for inexperienced DIYers. If you’re unsure of your abilities, consulting with a professional before beginning your project is always a good idea to ensure it is completed safely and effectively.
Installation Tips and Techniques
Embarking on a landscape lighting project may seem daunting, but you can easily achieve stunning results with the right guidance. This guide will walk you through installing landscape well lights, covering everything from choosing the perfect location to securing your fixtures and safely burying the wiring. With these straightforward steps and expert advice, you’ll be well on your way to creating an inviting and beautifully illuminated outdoor space that complements your property and enhances its curb appeal. So, let’s get started on your landscape lighting journey!
How to Install Landscape Well Lighting
When installing landscape well lights, proper planning and execution are essential to ensure optimal performance and longevity. By carefully selecting the location, preparing the installation site, and securely connecting the electrical components, you can create a lighting system that enhances the beauty of your landscape and illuminates key features effectively.
- Choose the appropriate location for your well light, ensuring it won’t be obstructed by plant growth or other landscape elements
- Dig a hole to accommodate the well light fixture, taking care not to damage underground utilities
- Place the fixture in the hole, connect the low-voltage wire to the fixture’s terminal screws, and backfill with soil to secure the light in place
Burying Landscape Lighting Wire
While unburied wire can pose a tripping hazard and detract from the appearance of your landscape, burying the low-voltage wire is not always necessary. Check local codes and consult with utility companies to determine your project’s best action. In some cases, using conduit or other protective measures may be sufficient to secure and protect your wiring.
A 3-6 inches shallow trench is typically sufficient for low-voltage landscape lighting wire. Use a trenching shovel or long steel punch to create a narrow trench, taking care to avoid damaging underground utilities. Be sure to maintain a consistent depth along the entire length of the trench to ensure that your wiring is properly protected and hidden from view.
Securing Landscape Lighting Inground
An important aspect of installing lighting outdoors is securely anchoring the light fixtures to ensure their stability and longevity. Properly fastened landscape lights help maintain the desired aesthetic of your outdoor space and minimize the risk of accidents or damages resulting from fixtures becoming loose or unstable over time.
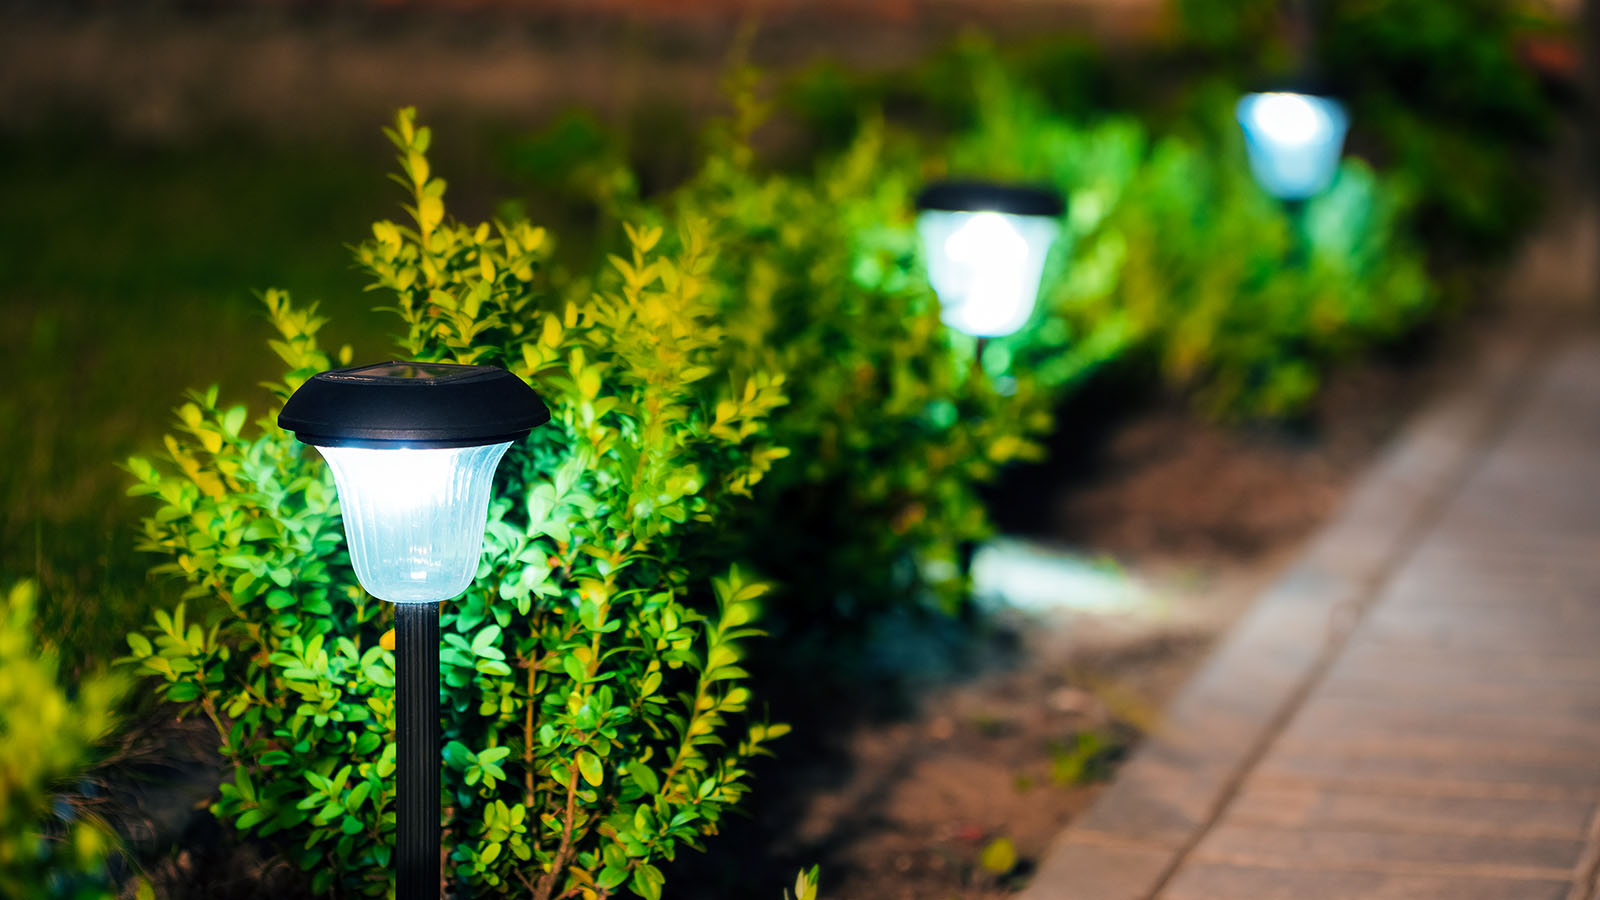
- Use metal stakes or similar securing devices to anchor landscape lights at ground level
- Ensure the light fixture is stable and level before backfilling the shallow trench with soil
Adding Lights to a Driveway
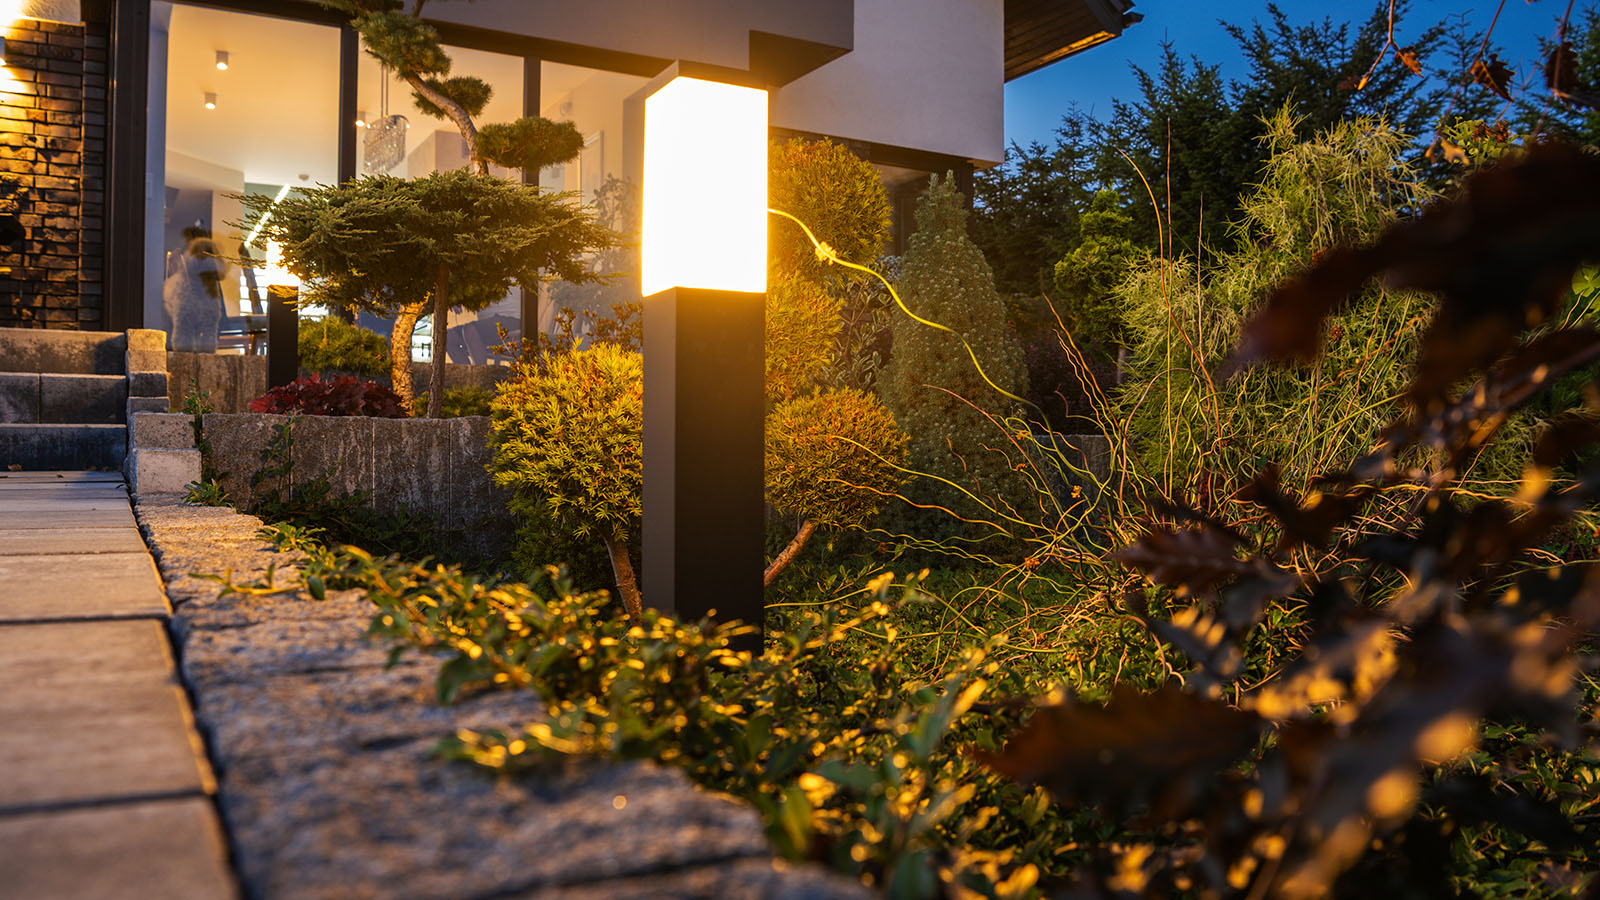
The best lights for a driveway will depend on your specific needs and preferences, as well as the overall aesthetic of your property. Some popular options for driveway lighting include path lights, low-voltage spotlights, and bollard lights. Consider factors such as the desired level of illumination, the style of your home, and your budget when selecting the best lights for your driveway.
The spacing of your driveway light posts will depend on factors such as the length of your driveway, the type and intensity of the lights, and your preferences. As a general rule, driveway light posts should be spaced approximately 8-10 feet apart to provide consistent and even illumination along the entire length of the driveway.
Outdoor Lighting Costs
When planning your outdoor lighting project, it’s essential to understand the various factors that influence the overall cost. From the number of light fixtures to the complexity of the system and the choice between DIY or professional installation, each aspect can impact the final price. Additionally, the costs for lighting specific areas like driveways and the ongoing expenses of running outdoor lights will vary depending on your unique requirements. In the following sections, we’ll explore these factors in detail, providing you with the information needed to make informed decisions about your outdoor lighting investment.
The Cost of Installing Lighting on a House
Costs to install lights can vary based on the number of light fixtures, the complexity of the lighting system, and whether you choose to hire a professional or do the installation yourself. On average, the cost to install lighting ranges from $50 to $200 per fixture for materials and labor. Keep in mind that this is just a general estimate and can vary depending on factors such as the type of lights, wiring, and any additional components required for the installation.
How Much Does It Cost to Light a Driveway?
The cost to light a driveway will depend on factors such as the length of the driveway, the type and the number of light fixtures, and whether you choose to hire a professional or do the installation yourself. On average, expect to spend between $1,000 and $5,000 for a complete driveway lighting project, including materials and labor. Again, this is just a general estimate and can vary depending on the specific requirements of your project.
How Much Does an Outdoor Light Cost to Run?
The cost to run an outdoor light will depend on the bulb type, the light’s wattage, and your local electricity rates. LED lights are typically more energy-efficient and cost less than traditional bulbs. To calculate the cost of running an outdoor light, multiply the total wattage of the light by the number of hours it is used per day, then multiply this by your local electricity rate (in dollars per kilowatt-hour). This will give you an estimate of the daily cost of operating your outdoor light.
Designing and Connecting Your Lighting
Designing and installing lighting can transform your property, highlighting its best features and creating a welcoming atmosphere for you and your guests. This section will explore the steps necessary for creating effective and efficient lighting that suits your needs. We will delve into the various aspects of planning and installation, including understanding the purpose of your lighting, selecting the appropriate type of fixtures and ensuring safe and reliable connections using copper wire and outdoor electrical outlets.
A well-planned lighting not only improves the aesthetics of your property but also enhances its safety and functionality. To achieve this, it’s important to understand the process and the materials required, such as outdoor electrical outlets and copper wiring. Our guide will walk you through the entire process, from designing the perfect layout to securing electrical power and ensuring your lighting is visually appealing and safe for you and your family.
How to Design a Lighting System
When planning your lighting, it’s essential to identify its primary purpose. This will help guide your decisions regarding the type and placement of lights. Consider factors such as accentuating landscape features, brightening walkways, or boosting safety and security around your property. By clarifying the main goal of your lighting, you can create a tailored design that enhances your outdoor space’s aesthetics and functionality.
Once you’ve determined the purpose, select the appropriate type of lighting to suit your specific needs. Options include low-voltage landscape lights, line voltage lights, or a combination. If you’re unsure of the best choice for your project, don’t hesitate to consult a professional for guidance. With your lighting type chosen, proceed to plan the layout of your system. Keep in mind the location of power sources, the positioning of lights to achieve the desired effect, and the arrangement of wiring to maintain a clean and organized appearance.
Getting Power to Your Outdoor Lights
Before connecting your exterior lights, clearly understanding the steps and materials required is important. Properly connecting your lights ensures lighting functions optimally and safely while safeguarding against potential issues such as moisture infiltration and weak connections. With the right tools and techniques, you’ll be well-equipped to create a seamless and reliable lighting setup for your outdoor space.
- Use wire connectors to securely join the low-voltage wire from your light fixtures to the main low-voltage cable
- Apply electrical tape around the connections to protect against moisture and ensure a strong connection
While it is not always necessary for outside lights to be on their own circuit, it is generally a good idea to ensure that your lighting is protected and can be easily isolated in the event of an issue. Consult a licensed electrician to determine the best approach for your specific project and local electrical codes.

Maintaining Your Outdoor Lighting
To keep your lighting in top shape, it’s essential to perform regular inspections for any signs of damage. Be on the lookout for issues such as frayed wires, broken fixtures, or loose connections. Addressing these problems promptly will ensure that your lighting remains safe and functional, allowing you to enjoy your illuminated outdoor space without worry.
Maintaining the cleanliness of your light fixtures is another crucial aspect of lighting care. Ensuring that your fixtures are free from debris will help optimize their performance and prolong their lifespan. Simple tasks like wiping down fixtures, removing leaves or dirt, and trimming back overgrown plants can make a significant difference in the appearance and functionality of your lighting.
It’s also wise to monitor your lighting system’s energy consumption, as this can impact your overall energy costs and environmental footprint. If you haven’t already, consider upgrading to more energy-efficient options like LED lights. This switch can reduce energy costs and contribute to a greener, more sustainable environment.
Installing lighting outdoor is a fantastic way to boost your property’s aesthetic appeal, functionality, safety, and security. Through meticulous planning and execution, well-designed lighting can leave a lasting impression on your landscape, creating a warm and inviting atmosphere for all to enjoy. Whether you choose to embark on this project independently or seek the assistance of a professional, our comprehensive guide serves as a valuable resource for achieving your dream lighting setup.


