Building a Backyard Fire Pit
Learn how to build a fire pit in your backyard, from choosing the right materials and location to considering additional features like built-in seating for endless nights of cozy gatherings.
Imagine sitting around a fire pit on a chilly evening, roasting hot dogs and making s’mores with family and friends in your backyard. Having a fire pit brings an added layer of comfort and luxury to your outdoor space. Moreover, it becomes a focal point where memories and stories are shared. You might wonder whether to buy a fire pit or go the DIY route to build your fire pit. In this article, we’ll cover everything you need to know – from tools and materials to various types of fire pits and step-by-step instructions for building a fire pit. Let’s dive right in.
The question that often arises is whether building your fire pit or buying one is cheaper. The answer is it depends. By building an in-ground fire pit, you can save some money. However, the costs can increase if you want a more complex fire pit with built-in seating. So, considering what exactly you want out of your own backyard fire pit is crucial.
As experts in Northeast Ohio landscaping, we at Hemlock Landscapes are committed to helping you make the best decisions for your backyard oasis. Whether it’s selecting the type of fire pit or understanding the cost implications, we have you covered. Therefore, we’ve prepared this comprehensive guide to answer all your questions.
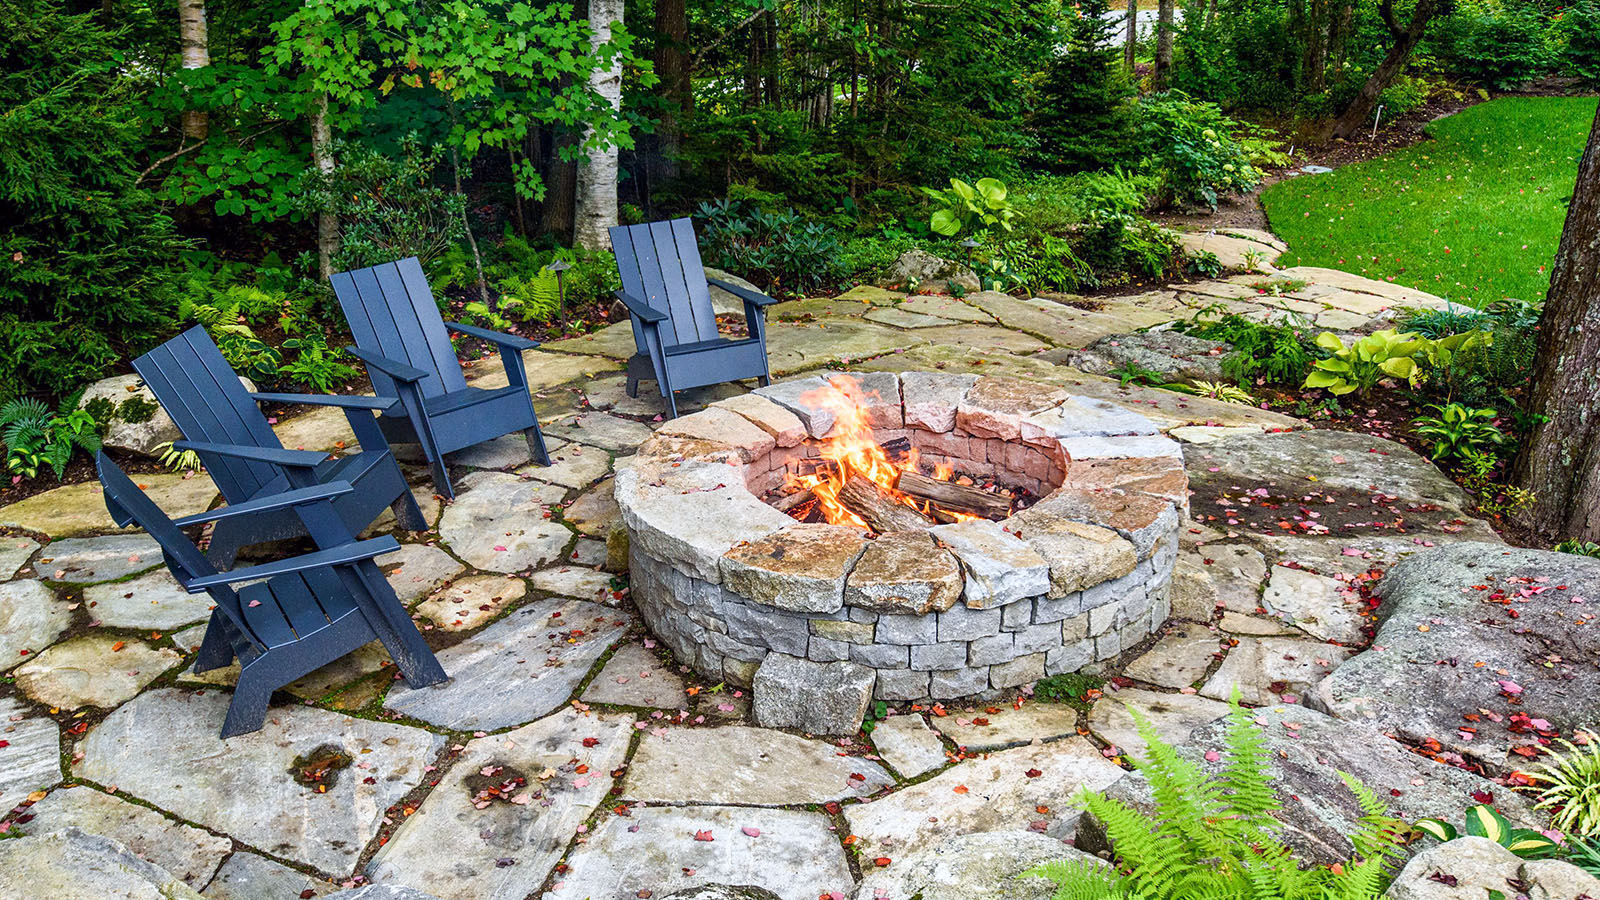
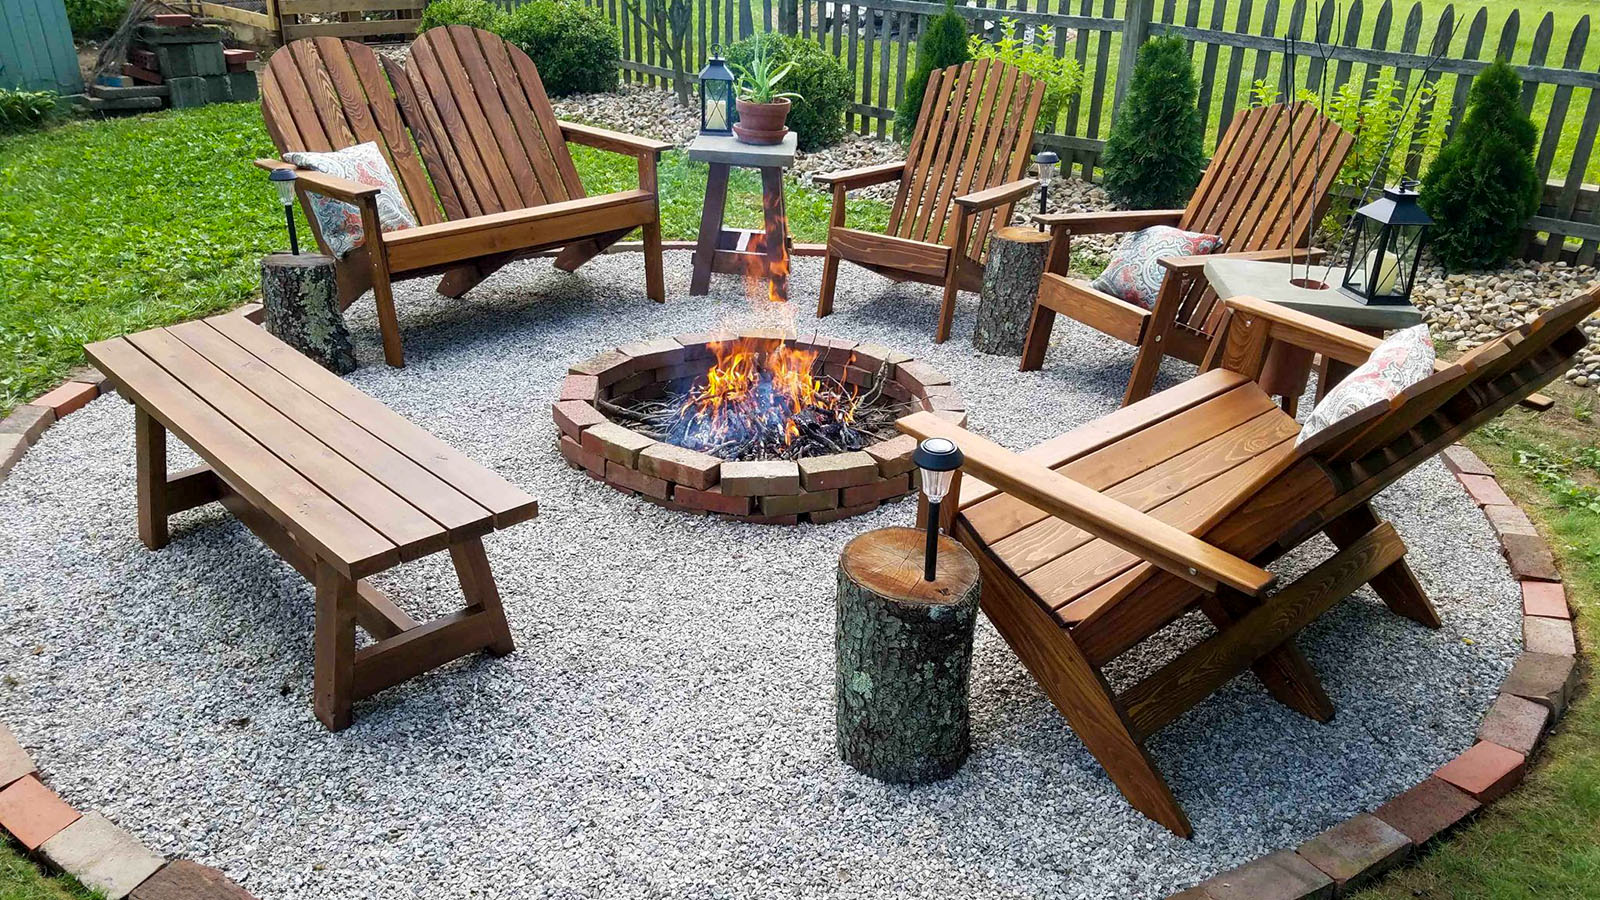
Tools and Materials Needed
Building a fire pit in your backyard may seem daunting, but the right tools and materials can make it a smooth and rewarding experience. Gathering everything beforehand on how to build a fire pit, from basic shovels to masonry adhesives, is crucial so the project proceeds without hitches. We believe in thorough preparation at Hemlock Landscapes, so we’ve detailed the necessary tools and materials to get started.
In this section, we’ve broken down the essential items into tools and materials. Both are equally important and choosing the right quality can make a substantial difference in the longevity and safety of your fire pit. Whether building a simple DIY fire pit or an in-ground masterpiece, these building blocks will make your vision a reality.
Tools Required for the Project
Getting the right tools is the first step in any successful DIY project. Building a fire pit requires some basic items that are probably already in your toolbox. A shovel will be crucial for digging the hole for your in-ground fire pit. A hand tamper helps in flattening the paver base effectively. If you’re going for a more refined look, a circular saw can help cut landscaping stones to the perfect size. Additionally, having a fire extinguisher nearby is always good for safety reasons.
The importance of quality tools can’t be overstated. Tools like a rubber mallet will help you evenly align the bricks, stones and retaining wall blocks. A brick hammer can help adjust the fire bricks or wall blocks. Remember to use spray paint to mark the ground where your fire pit will go. It provides a clear outline, guiding you as you dig and lay the first layer of blocks.
Materials You’ll Need
Materials form the foundation of your fire pit, and choosing them wisely is key. Retaining wall blocks or natural stone will act as the fire pit walls. Inside, a fire ring helps to contain the fire and extends the lifespan of the fire pit. For the base, paver base and gravel are essential. These materials are functional and add aesthetic value to your fire pit area.
Some other materials you may require include construction adhesive for binding the blocks together, making your fire pit more secure. If you’re building an above-ground fire pit, you’ll also need fire bricks to withstand high heat. Lava rocks can fill the bottom of your fire pit ring, as they are excellent for drainage and heat distribution. For an added touch of creativity, consider incorporating a few stones or pea gravel around the fire pit ring for decoration. These materials can also be coated with fire-resistant paint for an extra layer of safety.
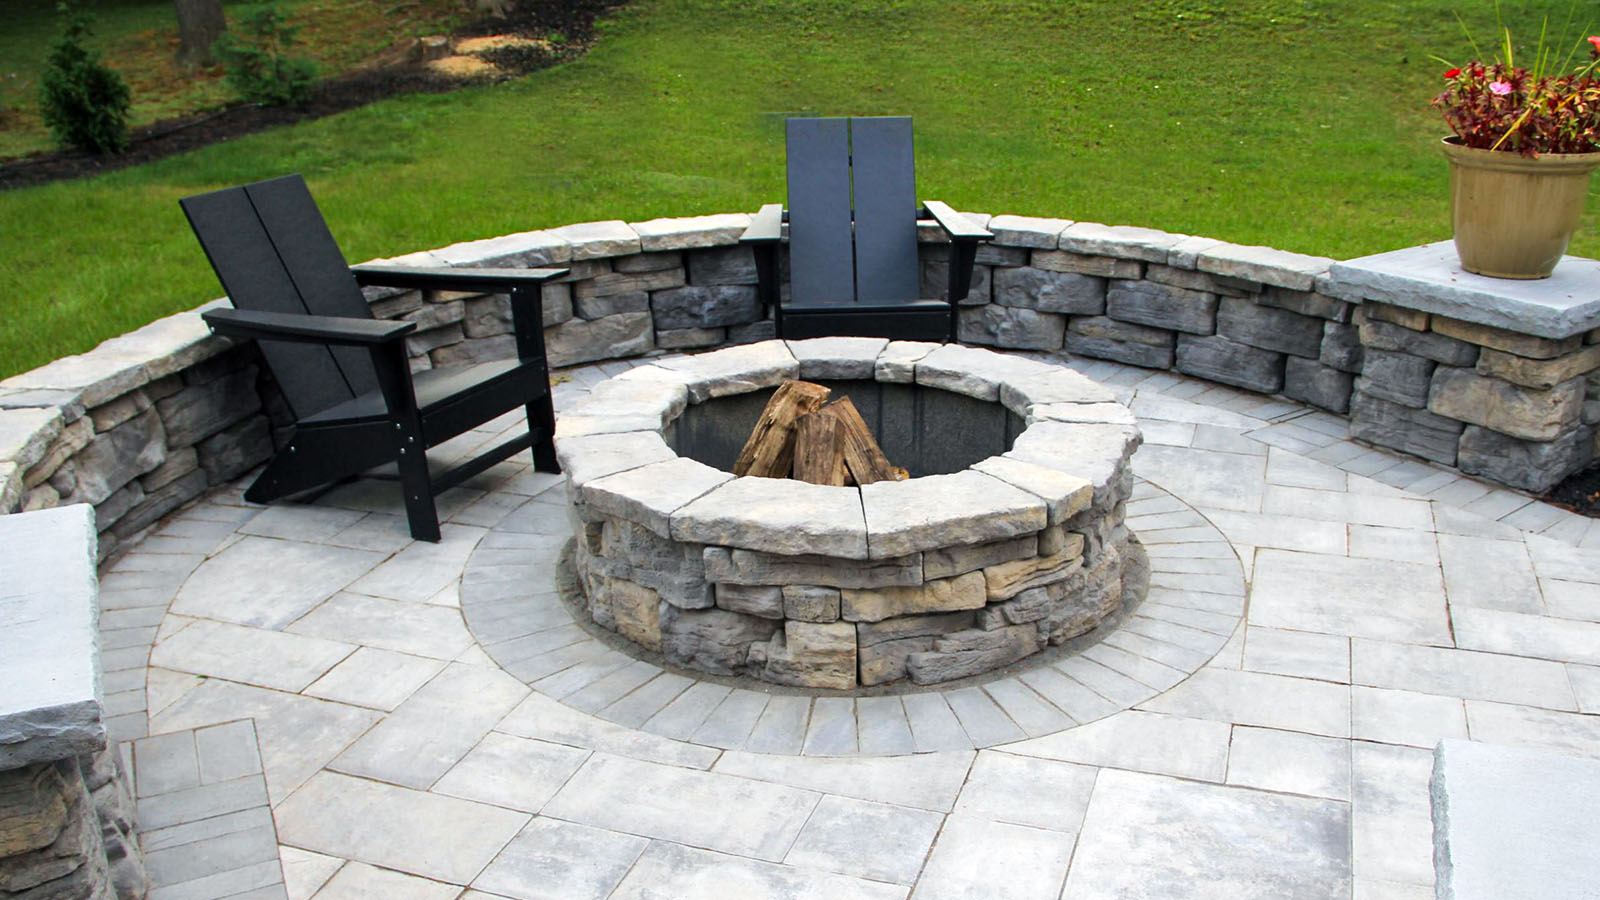
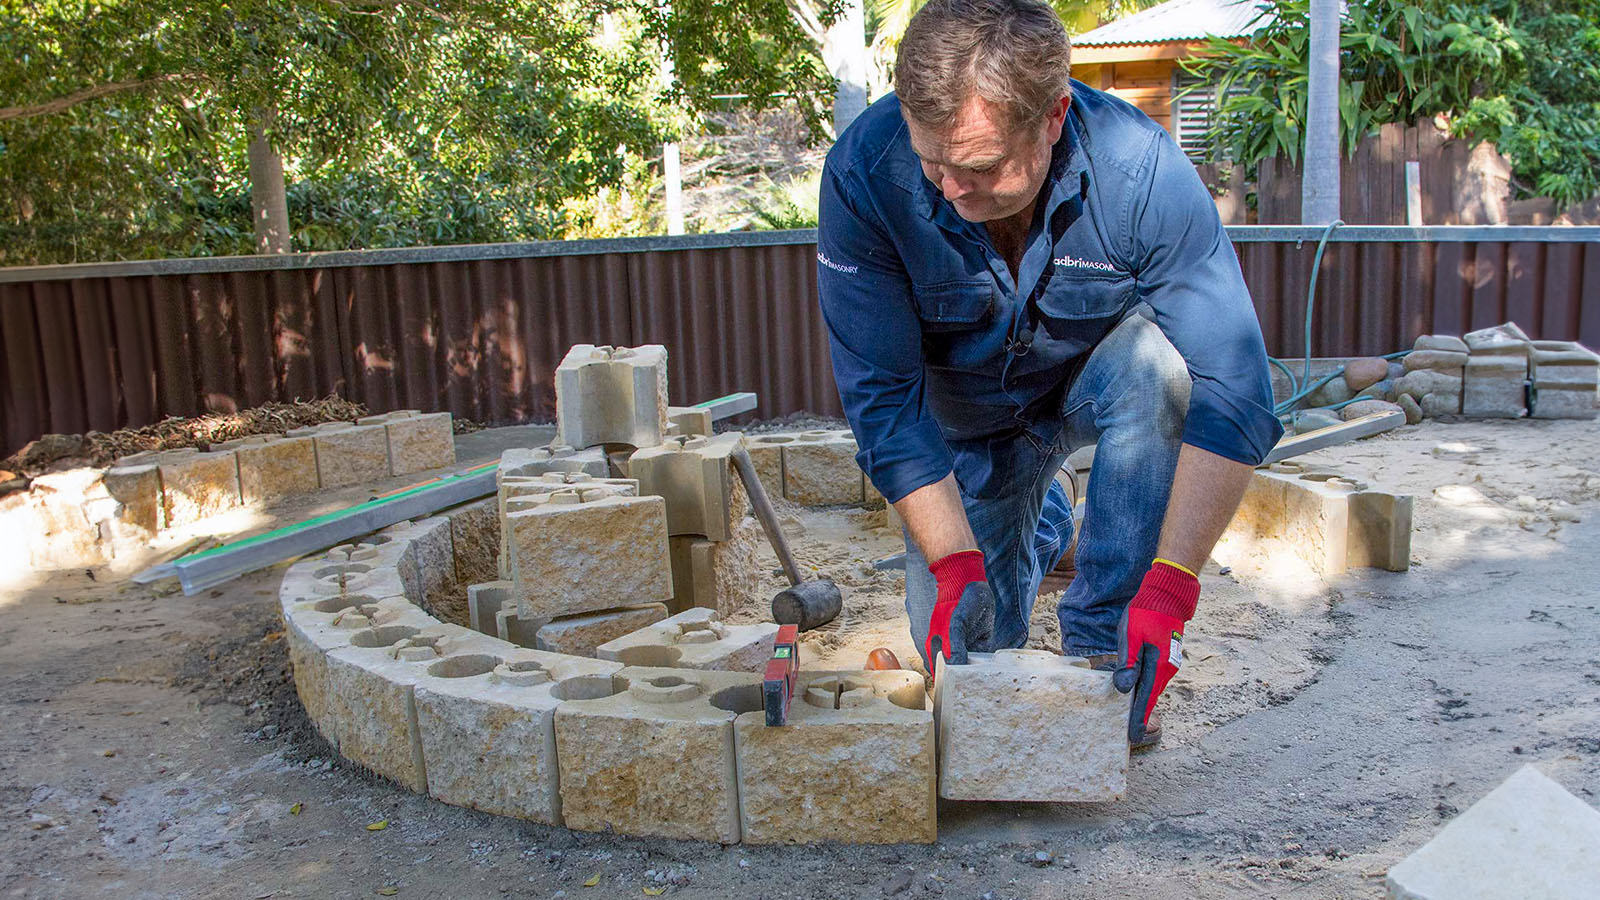
Types of Fire Pits
Fire pits come in many designs, shapes, and functionalities, offering something for every homeowner’s taste and backyard size. The variety is extensive, whether you are looking for a permanent fixture to entertain guests or a temporary setup for seasonal use. That’s why choosing the right type is crucial for meeting your needs and seamlessly blending with your outdoor aesthetics. At Hemlock Landscapes, we understand this choice is a major decision in any backyard renovation.
This section will delve into two of the most popular pits: DIY and in-ground pits. These two options vary in cost, labor, and design flexibility. By examining the key features of each pit, you’ll be better equipped to make an informed decision that aligns with your goals and the landscape of your yard.
DIY Fire Pits
A DIY fire pit might be perfect if you love a good weekend project. These pits give you the freedom to express your creativity, and they can be an easy project that doesn’t require a lot of specialized skills. DIY pits are typically above-ground and can be built using readily available materials like retaining wall blocks, fire bricks, or natural stone. Some people opt for a fire pit kit, which has all the essentials, simplifying the task.
However, it’s important to note that while DIY pits can be budget-friendly, they may require regular upkeep depending on the materials used. For example, stone may need resealing to withstand high heat, and fire bricks may need to be replaced over time. Always prioritize safety by making sure your DIY fire pit is sturdy and well-constructed. Keep a fire extinguisher nearby and ensure the fire pit is safe from flammable materials.
In-Ground Fire Pits
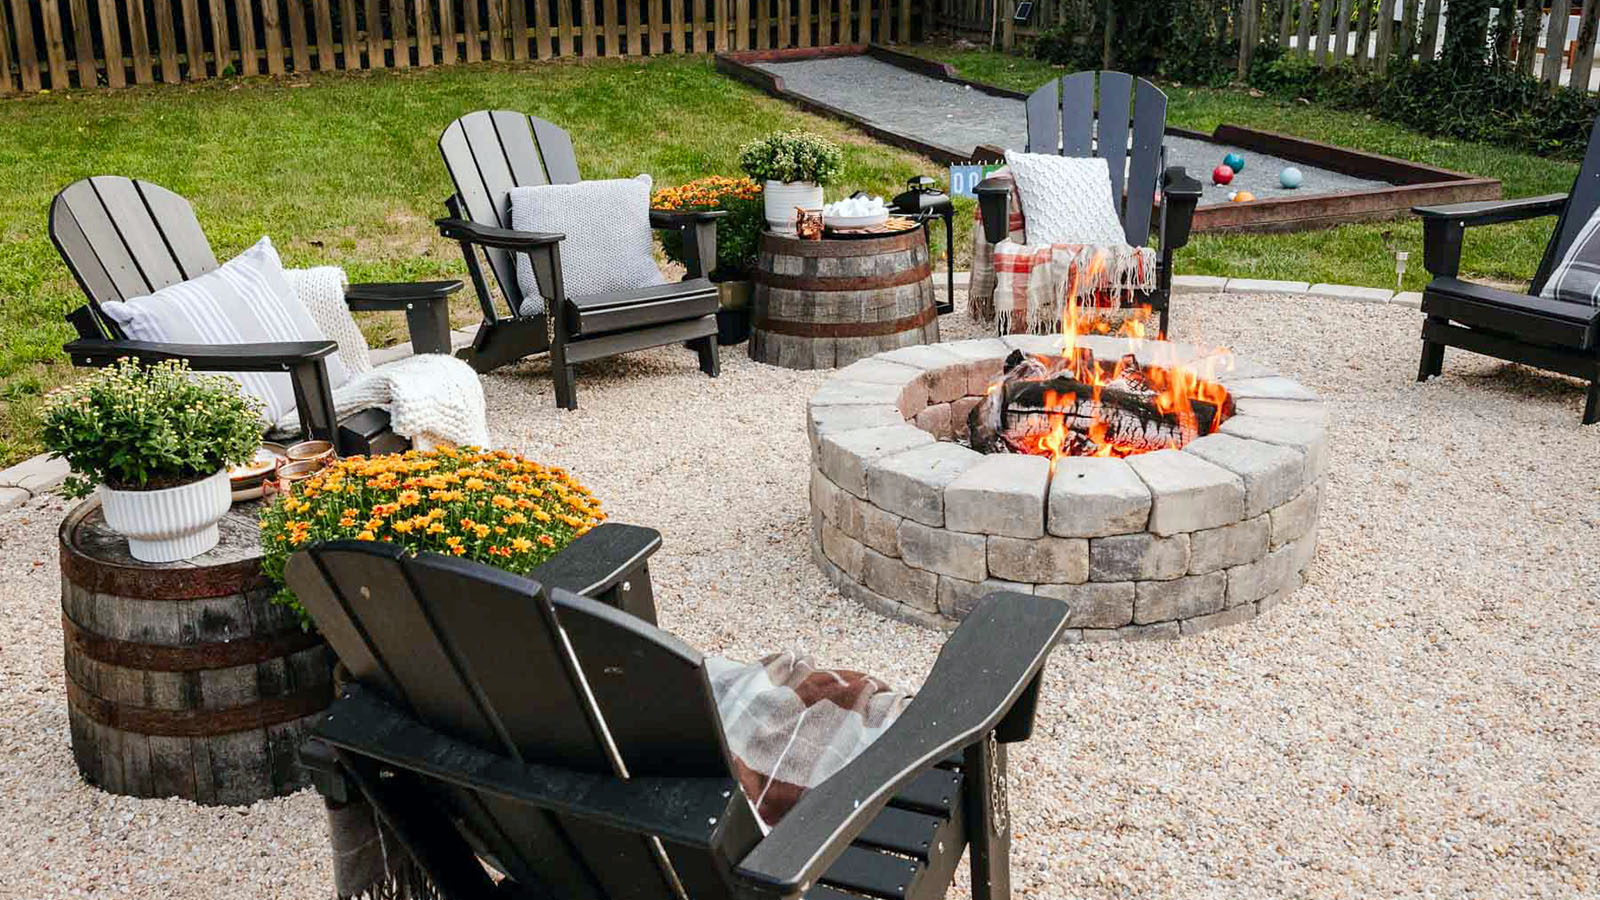
In-ground stone pits offer a more integrated look and are often more cost-effective, especially if you’re willing to do the digging yourself. Unlike above-ground options, these pits are dug into the ground, offering a flush finish that many homeowners find appealing. They work well in backyards with natural landscapes, as they don’t obstruct the view and feel like a seamless part of the yard.
When it comes to in-ground pits, maintenance is usually minimal, and they are often easier to clean because the ashes can be easily buried. However, they require more initial labor, particularly in the digging phase. Plus, they might be subject to stricter local ordinances than above-ground options, so checking local codes before you dig is essential. Ensure you also consider the drainage in your yard; a poorly drained in-ground fire pit can become a muddy mess.
Basic Instructions on How to Build a Fire Pit
The allure of a fire pit is undeniable. From family gatherings to late-night conversations, a fire pit can become the focal point of your backyard and a hub of unforgettable memories. Congratulations if you’ve decided to take the plunge and build a fire pit! Whether you opt for a DIY approach or an in-ground design, having a basic understanding of the construction process is essential for a successful project. In this section, we’ll walk you through the key steps to building a fire pit that’s both functional and visually appealing.
Building a fire pit involves several key stages, each contributing to the functionality and safety of the final product. Each step needs careful attention to detail, from preparing the ground to stacking the blocks. To simplify, we’ve divided the construction process into two critical subsections: Site Preparation and Construction. Let’s delve deeper into each to help you build the fire pit of your dreams.
Site Preparation
Choosing the right site for your fire pit is critical. The area should be far from your home and any overhanging trees to prevent fire hazards. Additionally, the site should be level; you can use a shovel and a hand tamper to level out the ground, ensuring the fire pit sits on a stable base. Once you’ve chosen the perfect spot, use spray paint to mark the dimensions of your fire pit on the flat ground, creating a visual guide for the next steps.
Before digging, check for buried utility lines in your chosen area. Many local ordinances require homeowners to check this before beginning any digging project in their backyard. You must also check local ordinances and codes to ensure your planned fire pit complies with safety regulations. The last thing you want is to finish your project only to realize it violates local laws.
Construction
With the site ready, you can move on to the construction phase. Begin by digging a hole approximately 6-12 inches deep, depending on how high you want your fire pit walls to be. You can use a shovel for this task. Fill this hole with a thin layer of gravel, and compact it with a hand tamper to create a solid fire pit base. This foundation will provide adequate drainage and keep the fire pit level.
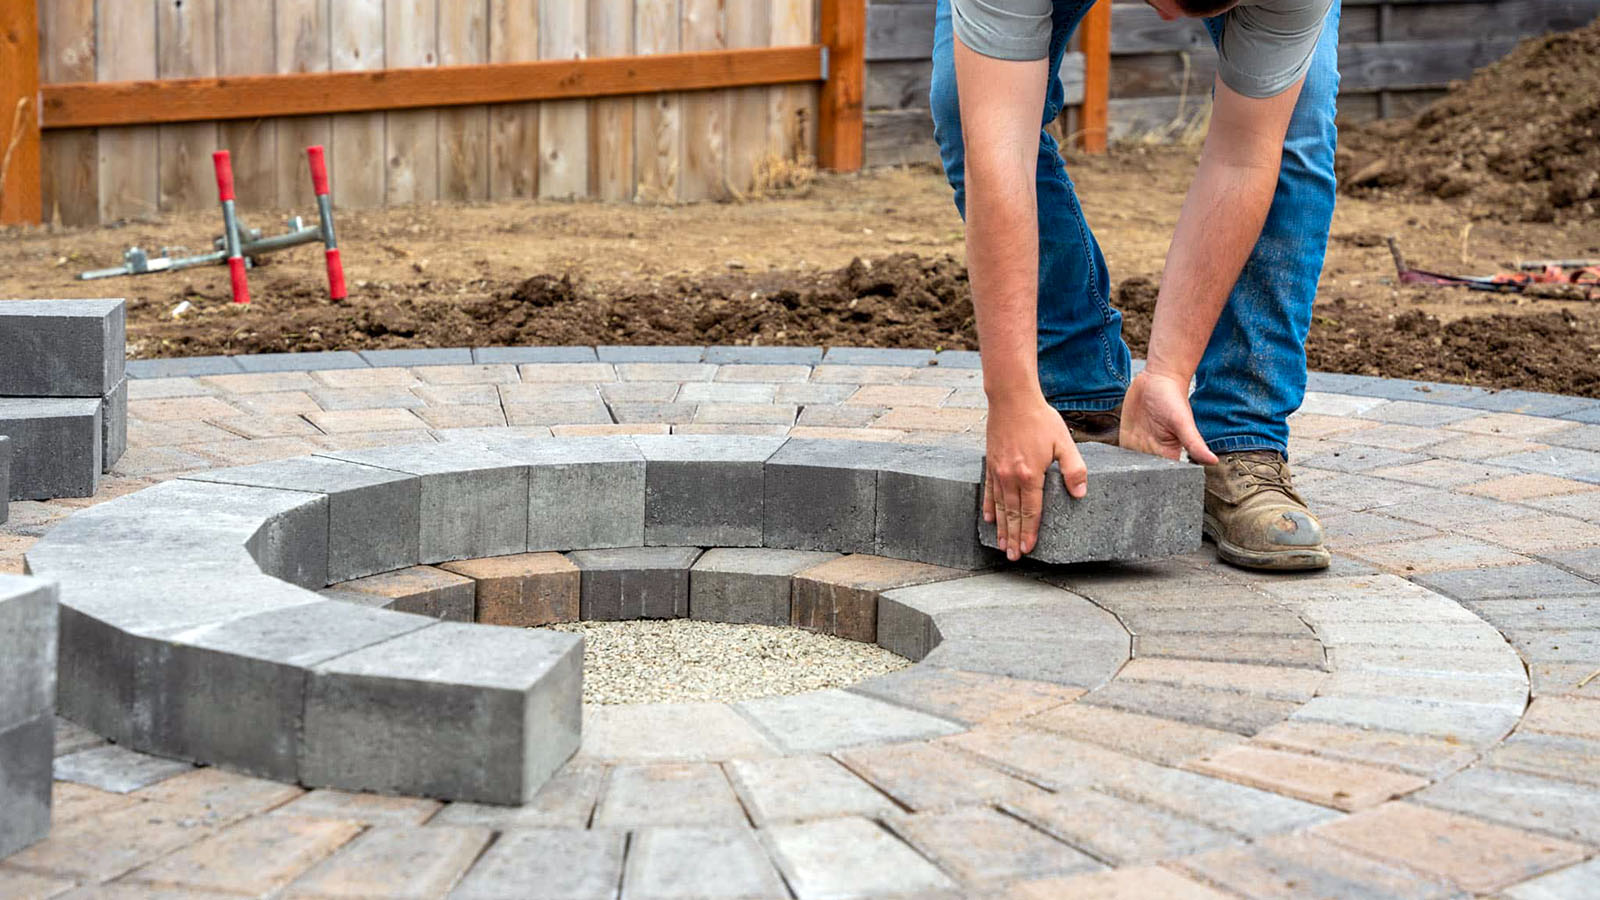
Next, lay the first layer of your chosen material – retaining wall blocks, fire bricks, or natural stone –around the perimeter of the gravel-filled hole. Use a rubber mallet to tap them into place, ensuring they are level. Apply a layer of masonry adhesive between the blocks to secure them. For the second row, stagger the blocks over the joints of the first layer for added stability. You can continue this process for the third row and as many rows as you like, but three layers are generally sufficient for a robust fire pit. Add a fire ring inside once you reach the desired height for extra safety and longevity.
By following these basic instructions, you’ll be well on your way to enjoying cozy nights around your new fire pit.
Additional Considerations
Building a fire pit is not just about stacking blocks and igniting a fire; various other aspects contribute to its success and longevity. From the type of stone you use to the seating area around the fire pit, several additional considerations can make or break your fire pit experience. This section highlights these often-overlooked factors, helping you build a fire pit and create an inviting, safe, and functional gathering space.
Whether you’re on a budget looking to build an outdoor fire pit cheaply or pulling out all the stops for an extravagant backyard focal point, these additional considerations can influence cost and enjoyment. We’ll focus on two critical areas that often prompt questions: the materials used at the bottom of the fire pit and the cost implications of built-in seating.
What to Put at the Bottom of Your Fire Pit
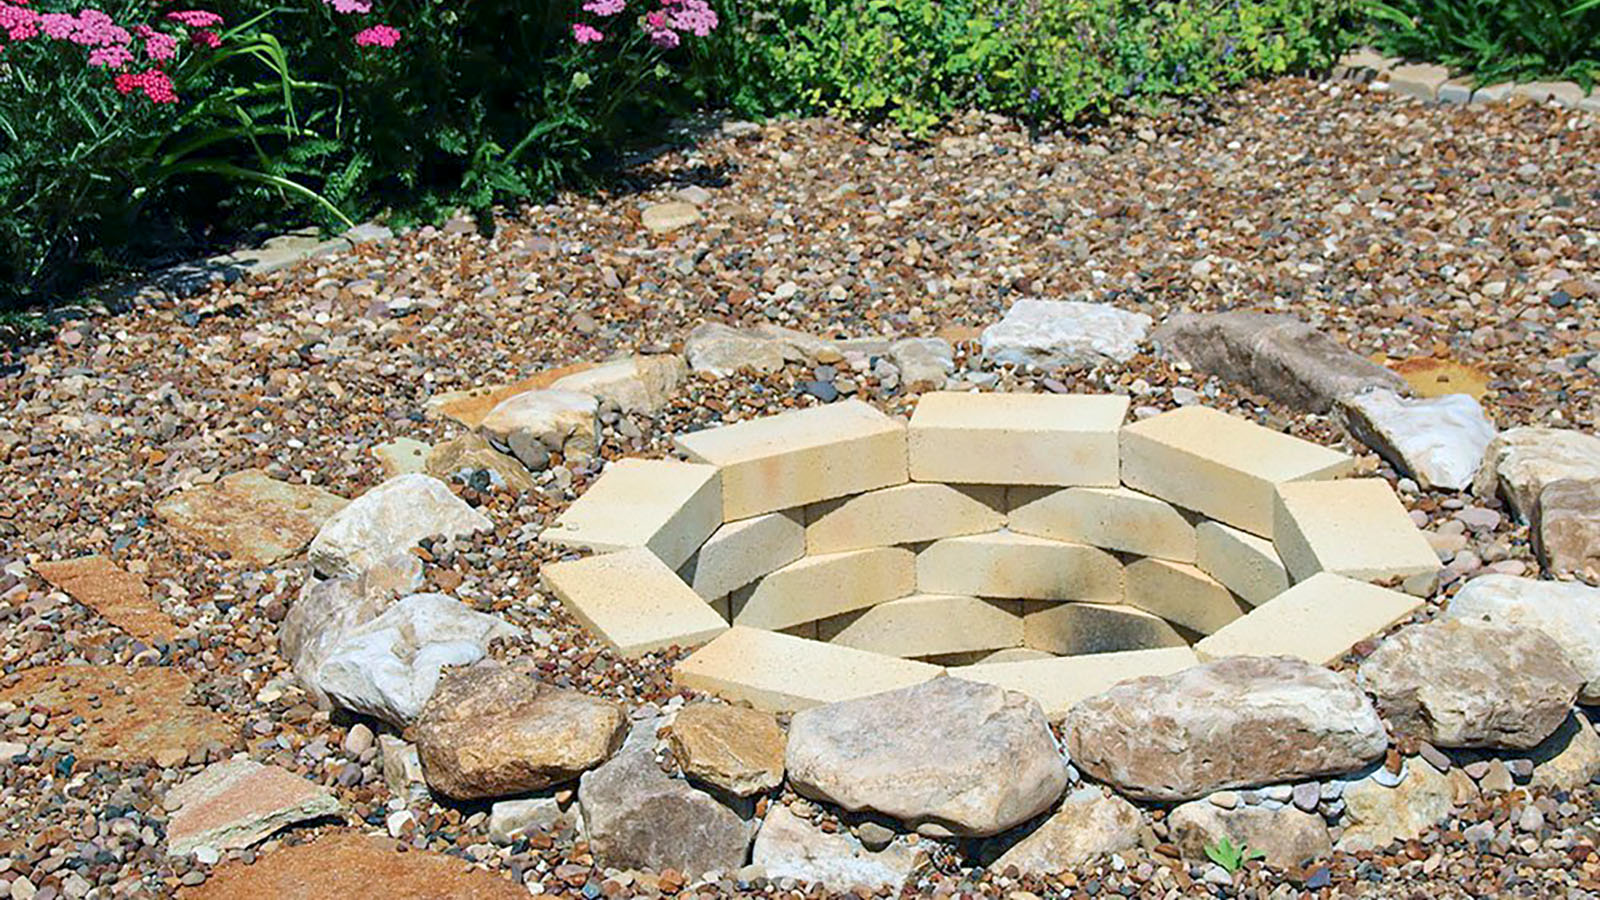
One common question is, “What should you put at the bottom of a fire pit?” The material at the bottom plays a significant role in heat distribution and drainage. Often, lava rocks are an excellent choice, as they are porous and can withstand high heat. Another option is to use fire bricks at the bottom, as bricks are designed to withstand high temperatures and protect the ground underneath.
A layer of sand beneath your fire bricks or lava rocks is another good practice. It aids in drainage and can serve as an additional fire-resistant layer. However, avoid using river rocks or regular stones at the bottom of your fire pit. These can trap moisture and crack or explode when exposed to high heat. Always opt for materials explicitly designed for fire pit use.
Cost and Value of Built-in Seating
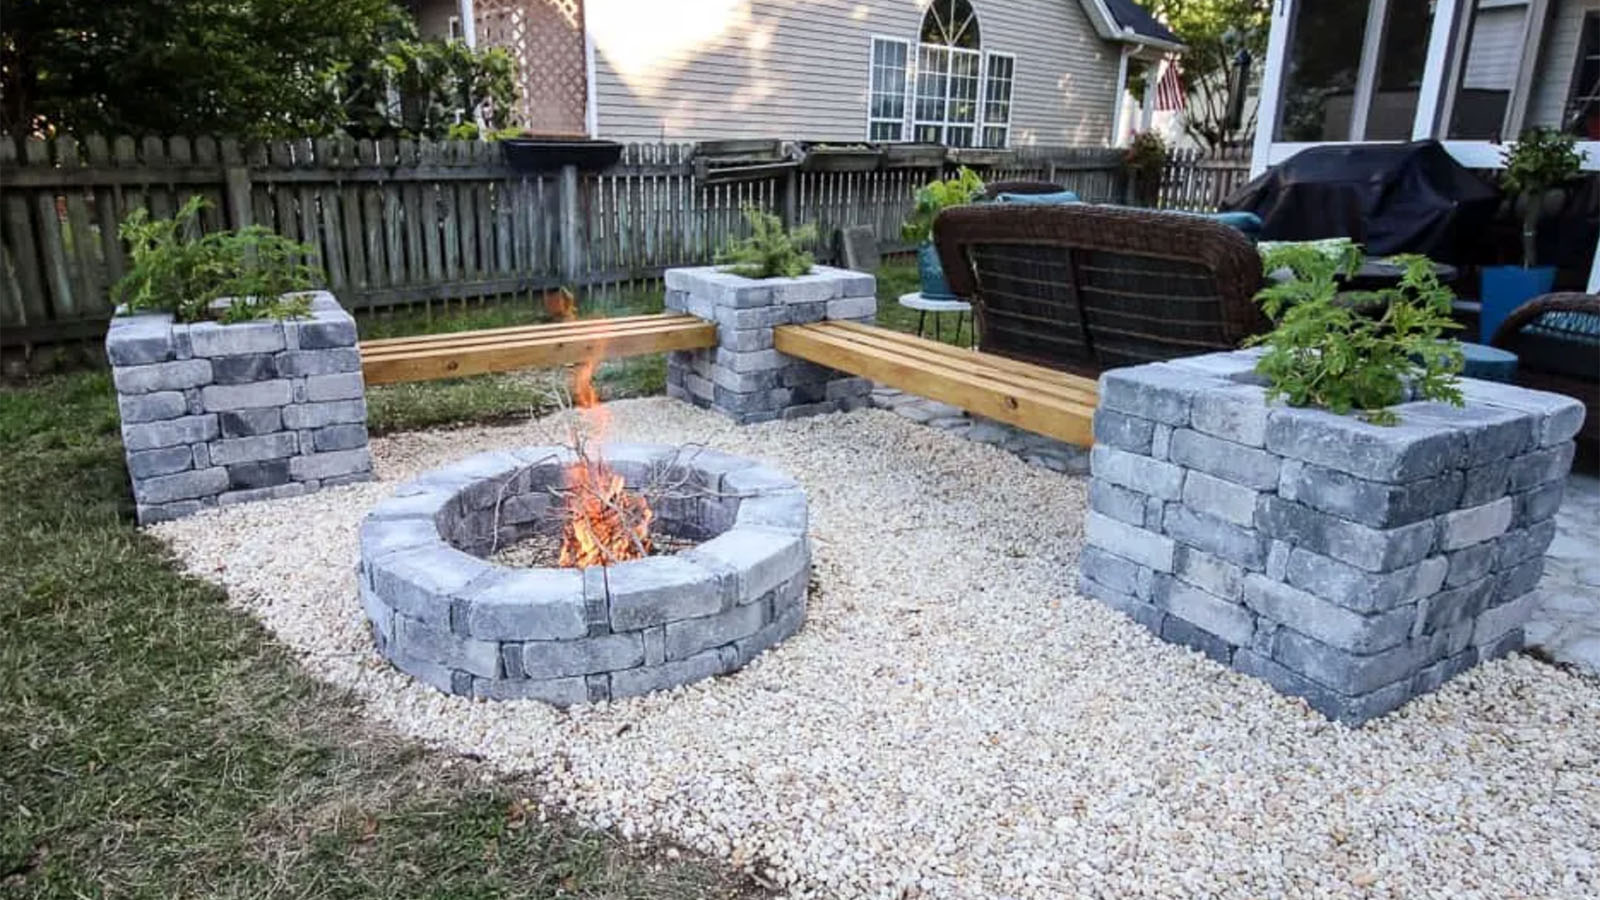
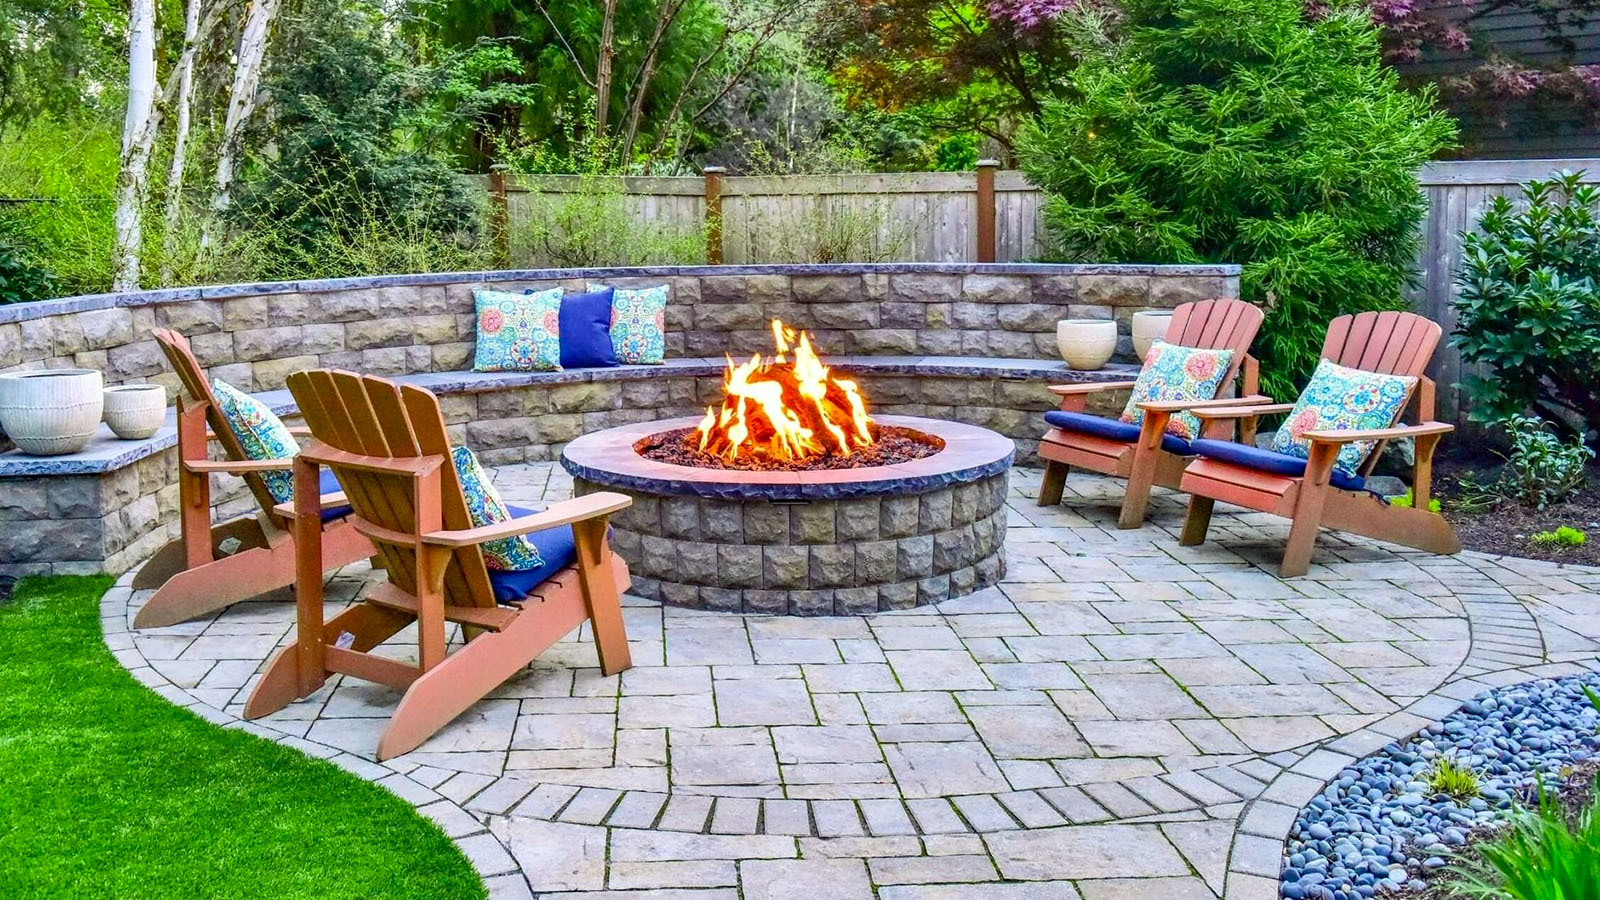
Built-in seating can take your fire pit area to the next level by offering a permanent, comfortable space for your guests to relax. The cost of built-in seating can vary greatly depending on the materials used and the complexity of the design. For a more budget-friendly approach, use retaining wall blocks to create simple benches around the fire pit. These can then be topped with outdoor cushions for added comfort.
While built-in seating can be an initial investment, many find the value it adds to the backyard space well worth it. The seating becomes a permanent fixture that enhances your outdoor area’s aesthetic appeal and functionality. It’s perfect for entertaining and can even increase the resale value of your home. However, ensure that the seating is spaced far enough from the fire pit to meet safety guidelines, and consider adding a few standalone chairs or other outdoor furniture for flexibility.
Setting The Stage for Memorable Evenings
Building a fire pit in your backyard is not just about adding a functional element; it’s about creating a space where memories are made. Whether you opt for a DIY fire pit or an in-ground model, the steps involved are more than a weekend project – they invest in your home and happiness. From the initial site preparation to choosing the suitable materials for the base, each decision shapes the experience you and your guests will have around the fire pit. With careful planning and attention to detail, your backyard can soon be the setting for many cozy gatherings, meaningful conversations, and fun-filled evenings.
The additional considerations – like what to put at the bottom of your fire pit and whether or not to include built-in seating – have implications beyond aesthetics. These choices affect the fire pit’s functionality, safety, and longevity. Moreover, they can add value to your property while elevating the comfort and enjoyment of the space. Remember, a fire pit is part of a larger landscape, not an isolated feature. It should harmonize with your yard and reflect the lifestyle you aspire to live.
Building a fire pit is a choice to enhance your lifestyle, offering endless nights of entertainment and relaxation. Whether roasting hot dogs with family, chatting with friends, or simply enjoying the flickering flames alone, a fire pit is a versatile outdoor focal point. By following the guidelines and tips outlined in this article, you’re well on your way to setting the stage for memorable evenings in the comfort of your own backyard too.


